
The Unseen Architect: How Terrain Shapes the Battlefield in Conquest: The Last Argument of Kings
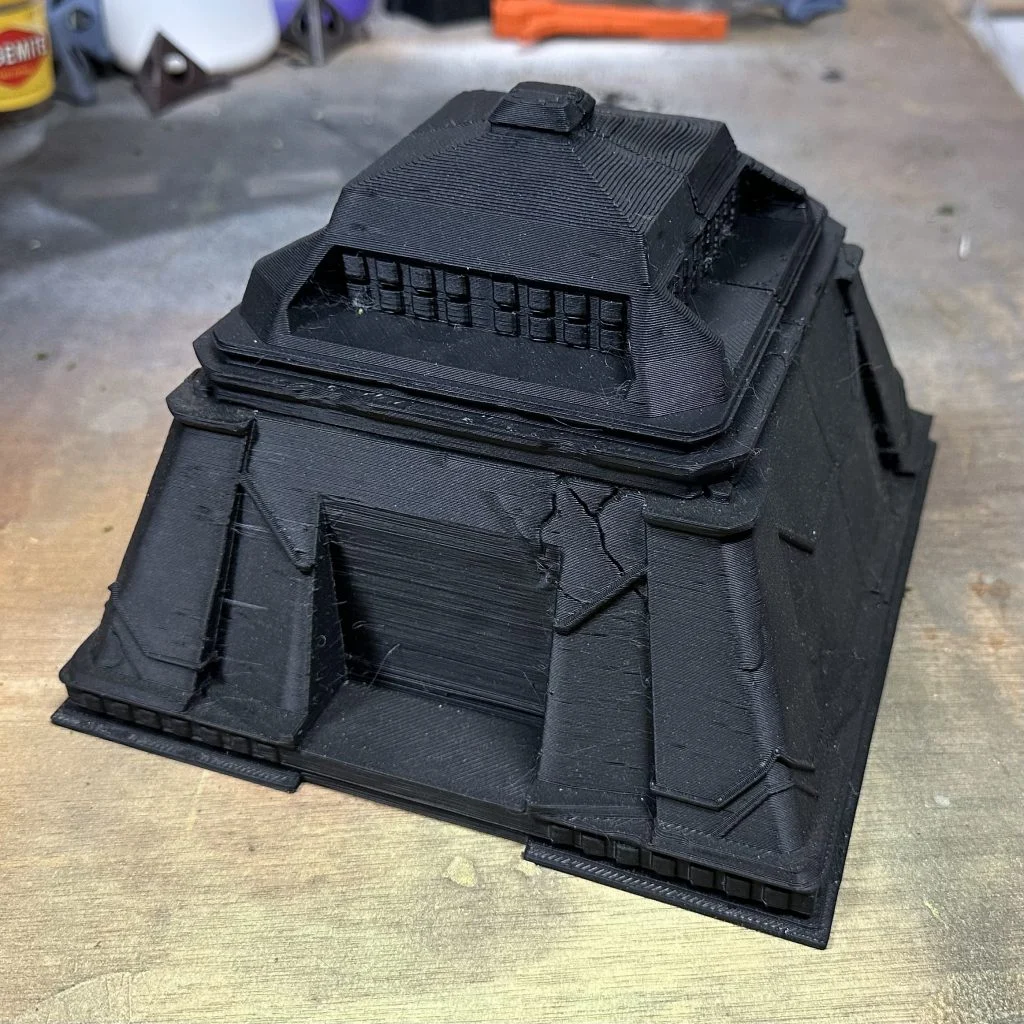
In the sprawling, strategic world of tabletop wargaming, a singular truth resonates across every battle-scarred board: without terrain, there is no game. Terrain is more than mere scenery; it is the silent narrator of the conflict, weaving tales of heroic stands and cunning maneuvers. Crucially, it also acts as a great equalizer, creating friction that challenges all players equally while simultaneously presenting opportunities to exploit and obstacles to overcome.
This foundational principle gains even greater significance in "rank and flank" wargames like "Conquest: The Last Argument of Kings." Here, where the movement of tightly formed regiments is paramount, the landscape becomes an intricate dance partner, dictating lines of advance, hindering charges, and offering vital defensive positions. Understanding terrain in Conquest isn’t just about knowing the rules; it’s about mastering the very canvas upon which your grand strategies unfold. This article delves into the various forms terrain takes in Conquest, where to acquire it, its strategic applications both in-game and during setup, and its profound impact on gameplay.
The Fundamental Role of Terrain in Wargaming
At its core, terrain in tabletop wargames typically serves as a declarative statement on the game board: "Do not be here." This directive can manifest in several ways. Physiologically, terrain might block units from traversing a specific area, forcing detours and altering the flow of battle. Alternatively, it might impose a disadvantage, such as obstructing line of sight, reducing the efficacy of a charge, or degrading a unit’s combat capabilities.
The true genius of terrain lies in its symmetrical application and the dynamic, contextual meaning it generates. While a dense forest might impede your advance, it simultaneously restricts your opponent’s. This inherent duality transforms a perceived disadvantage into a potential strategic asset. A well-placed piece of terrain can become a bulwark for a vulnerable unit, a chokepoint to funnel enemy forces, or a launching pad for a surprise flank attack. The fun, therefore, arises from this constant negotiation with the environment, turning shared obstacles into unique strategic opportunities.
While the basic concept is straightforward, the nuances of terrain in Conquest demand a closer look. The game categorizes terrain into distinct types, each with specific rules and implications that can dramatically alter the course of a battle.
Categories of Terrain in Conquest: Zonal and Garrison
In "Conquest: The Last Argument of Kings," terrain falls into two primary categories: Zonal Terrain and Garrison Terrain. From extensive player experience, Zonal Terrain will constitute the vast majority of your battlefield elements, influencing nearly every phase of the game. Garrison Terrain, while powerful, is a more specialized feature often reserved for particular scenarios or more advanced strategic considerations.
Zonal Terrain: Shaping the Immediate Battlefield
Zonal Terrain refers to designated areas on the game board that confer specific rules and effects, typically defined by a selection of keywords. These keywords imbue the terrain with distinct properties, impacting movement, line of sight, and combat effectiveness. Understanding these keywords is crucial for effective battlefield control:
- Difficult Ground: Units moving into or through Difficult Ground have their movement and charge distances reduced. This can significantly slow down heavy infantry or cavalry charges, forcing opponents to commit earlier or find alternative routes. Strategically, it can protect flanks or funnel enemy units into kill zones.
- Obscuring: Terrain with the Obscuring keyword blocks line of sight (LoS) through or behind it. This is invaluable for protecting ranged units from return fire, concealing advancing regiments, or creating blind spots for ambush tactics. Skirmishers and archers often seek refuge within or behind Obscuring terrain.
- Impassable: As the name suggests, Impassable terrain cannot be entered or moved through by units. These features—cliffs, deep rivers, insurmountable ruins—create hard barriers on the battlefield, dictating entire avenues of approach and retreat. They are critical for shaping the battlefield’s choke points and defensive lines.
- Dangerous: Units entering or ending their activation within Dangerous terrain suffer damage or other detrimental effects. Swamps, lava flows, or fields of magical corruption fall into this category, forcing players to weigh the tactical advantage of using such terrain against the potential cost in casualties.
- Cover: Units positioned within or behind Cover terrain gain a defensive bonus against ranged attacks. This is a common and highly tactical keyword, allowing units to weather volleys of arrows or arcane blasts more effectively. Lightly armored units often seek Cover to mitigate their vulnerabilities.
- Hills/Elevated: While not always a specific "keyword" in the same vein, elevated terrain typically provides line of sight advantages and can impact charges (e.g., downhill charges might be more potent). Hills create crucial vantage points for ranged units and can break up flat battlefields, adding verticality to strategic considerations.
- Rubble/Ruins: Often combining elements of Difficult Ground and Cover, Rubble or Ruins represent the broken remnants of structures. They offer tactical benefits for infantry seeking cover but can impede the movement of larger formations.
Mastering Zonal Terrain involves not just understanding each keyword but also anticipating how combinations of terrain types will interact and influence the flow of battle for both your army and your opponent’s.
Garrison Terrain: Fortifying Key Positions
Garrison Terrain presents a more complex, albeit powerful, layer of tactical depth in Conquest. It must be acknowledged that the rules for Garrisoning Terrain can be quite intricate, often leading to it being overlooked in casual games or simplified in tournaments. However, for those willing to delve into its mechanics, Garrison Terrain offers unique strategic advantages.
Generally, Garrison Terrain pieces are recommended to be between 4 to 6 inches in diameter and should not overlap with other terrain or objective zones. They possess specific Defense and Capacity values. Capacity dictates the maximum number of stands a terrain piece can hold, while Defense provides a bonus to the Regiment occupying it. Typical recommendations are Capacity (4) and Defense (1).
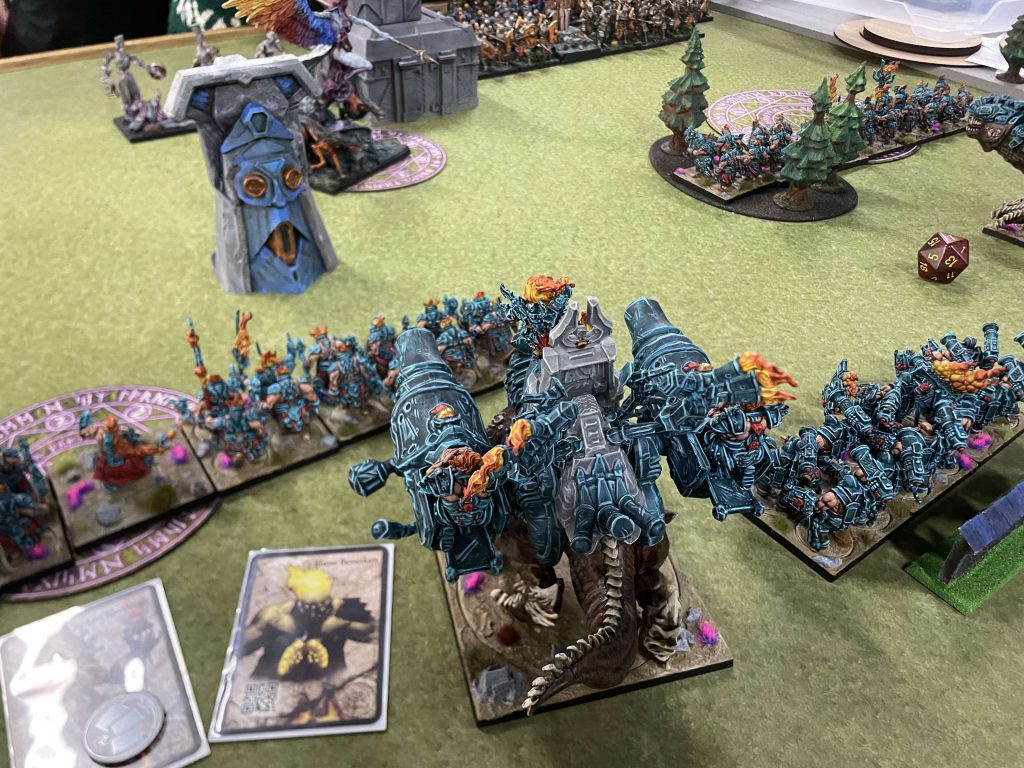
The process of occupying Garrison Terrain involves an Infantry Regiment marching to within 1 inch of it and ending its activation. Once garrisoned, the regiment gains a significant Defense bonus and, critically, a full 360-degree line of sight, allowing them to engage targets in any direction regardless of their facing. This makes them formidable defensive strongholds, especially for ranged units.
Enemy regiments can charge a piece of Garrison Terrain as if it were a regular regiment, but they do not inflict Impact Hits upon contact. This means a direct assault on a garrisoned position relies purely on the ensuing melee combat, making it a tough nut to crack. Exiting Garrison Terrain also requires strategic planning: the occupying regiment must use two March Actions. They are then set up within the distance of their lowest March Characteristic in a legal formation. If a legal formation cannot be achieved within this distance, the regiment can be set up within double the distance but immediately becomes Broken, highlighting the risks of hasty retreats from fortified positions.
While the bookkeeping for Garrison Terrain, with its specific edge cases and interactions, can be substantial (referencing pages 87-90 of the Core Rules is essential for full comprehension), its tactical implications are profound. For ranged units, the combination of increased Defense and omnidirectional line of sight transforms them into potent stationary turrets. For melee units, a well-defended garrison can anchor a flank or deny a crucial objective. Despite its complexity, a cursory read and a trial run in a friendly game are highly recommended to appreciate the strategic depth it adds.
Strategic Application: How Players Utilize Terrain
Beyond understanding the rules, mastering terrain involves integrating it into your overarching battle plan. The rules provide excellent guidance for setting up a 6×4 foot battlefield, typically recommending:
- 1-2 Impassable pieces: These form natural barriers, channeling movement.
- 2-3 Obscuring pieces: Essential for tactical hiding and controlling line of sight.
- 2-3 Hindering pieces (Difficult/Dangerous): These slow down enemy advances and create attrition zones.
- 1-2 Hills/Elevated pieces: Providing vantage points and breaking up flat sightlines.
These guidelines ensure a dynamic and challenging battlefield. But how does a player leverage this?
Firstly, pre-game terrain placement (if applicable) is a mini-game in itself. Knowing where to place a dense forest to protect your vulnerable ranged units, or an impassable mountain to screen a flank, can win you the game before the first dice are rolled. A symmetrical approach, where both players place terrain alternately, often leads to balanced and fair games, preventing one player from creating an overly advantageous board state.
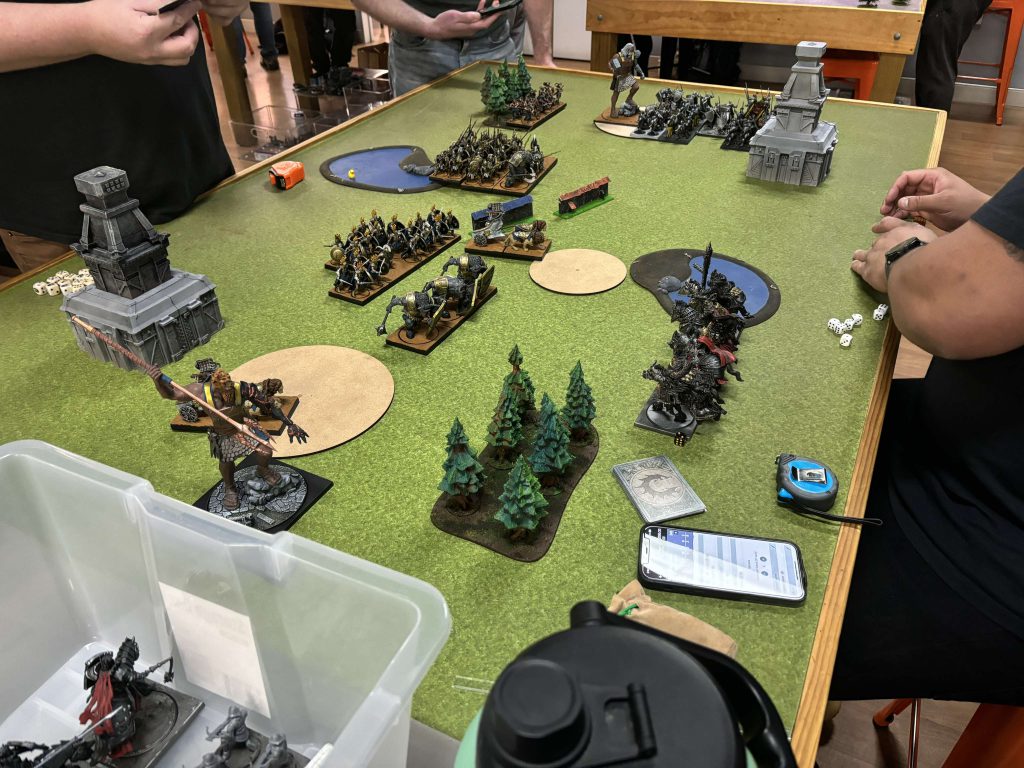
Secondly, in-game movement and positioning are profoundly influenced. Fast-moving cavalry might avoid Difficult Ground to preserve their charge bonus, while resilient infantry might intentionally move through Dangerous Terrain to seize a crucial objective. Protecting flanks with Impassable terrain or leveraging Obscuring features to stage an ambush are fundamental tactics.
Thirdly, army composition can be tailored to the expected terrain. An army heavy in ranged units might favor boards with ample Obscuring and Cover terrain. Conversely, a melee-centric force might prefer a more open board to maximize charge lanes, or be designed to leverage Difficult Ground to slow down enemy counter-charges.
Acquiring Terrain for Your Conquest Battles
The "age-old question" for any wargamer is whether to opt for immersive 3D terrain or more practical 2D solutions. The answer hinges on your personal priorities: do you prioritize verisimilitude and aesthetic grandeur, or ease of use, transport, and setup?
Para Bellum, the creators of Conquest, offer several excellent solutions to cater to different preferences:
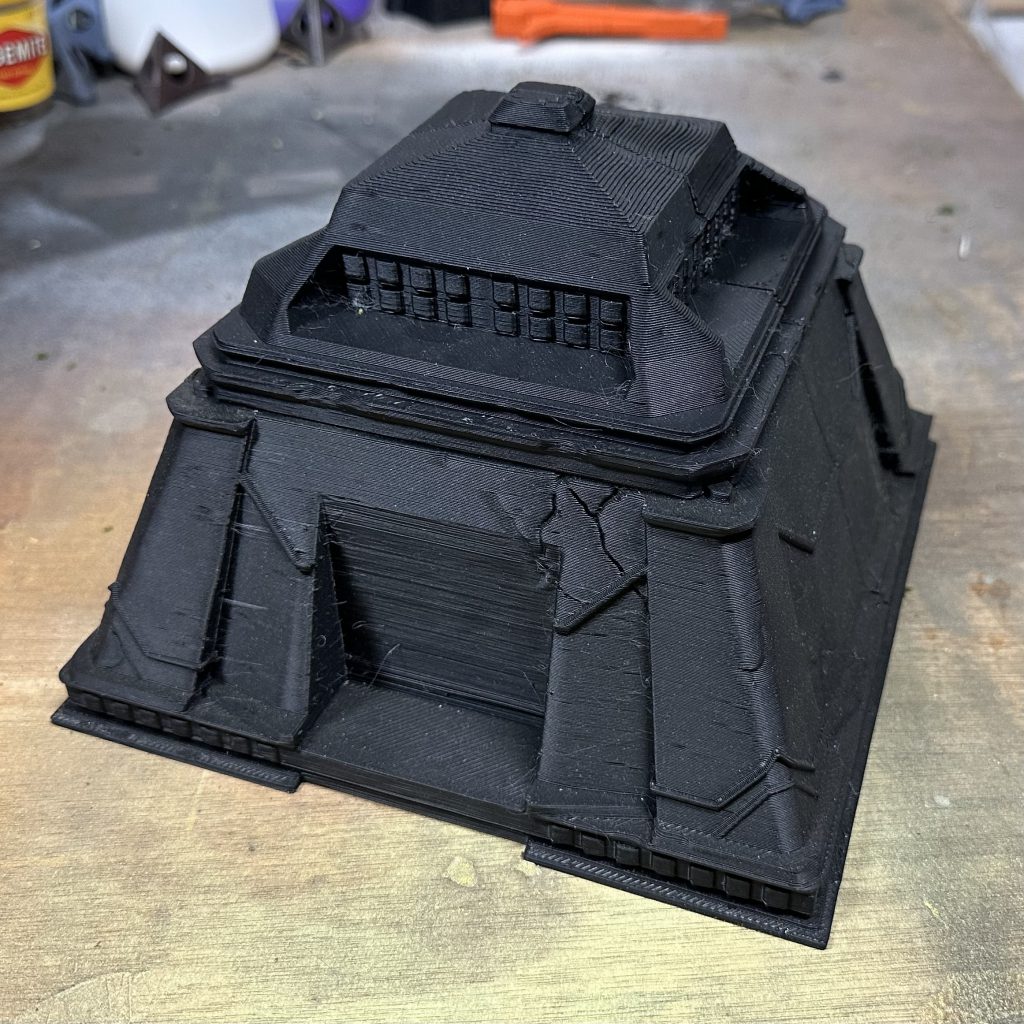
- 3D Printable STLs: For those with access to a 3D printer, Para Bellum provides an extensive range of STL files for 3D printing tailored to Conquest’s various factions. The immense benefit here is thematic consistency; terrain designed by the same artists as the miniatures creates a cohesive and visually stunning battlefield. While 3D printing requires an initial investment in equipment and time, the results are often breathtaking and deeply immersive.
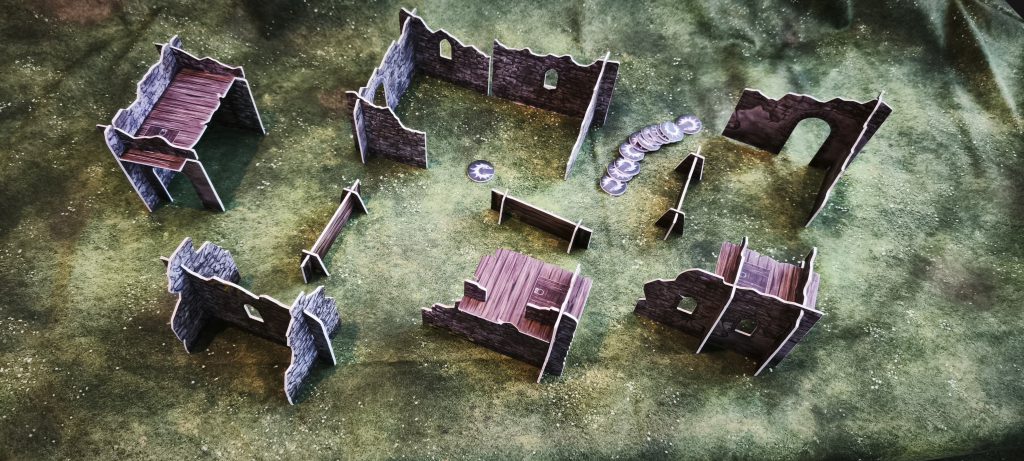
- Foldable Cardboard 3D Terrain: A more user-friendly and portable option is Para Bellum’s newer foldable cardboard 3D terrain. While primarily marketed for "First Blood," these pieces carry the same design language as the STLs and offer a quick, relatively inexpensive way to get impressive 3D terrain on the table. They are pre-painted (or at least pre-colored) and easy to store, striking an excellent balance between aesthetics and practicality.
- 2D Cardboard Terrain: Found in all "Last Argument of Kings" starter sets, these 2D cardboard pieces are often overlooked by veterans but are an absolutely perfect starting point for newcomers. They come bundled with the core game, require no assembly or painting, and allow new players to dive into the strategic depth of Conquest immediately. For beginners, starting with these is highly recommended. As you gain experience and understand your preferences, you can then consider branching out.
It’s crucial to remember that the "cinematic experience" often showcased in YouTube battle reports, while inspiring, demands significant time, budget, and storage space. You can have an incredibly fun and strategically rich game of Conquest using 2D terrain – or even household items like books, cups, and plates to represent terrain zones. The key is to get playing and find what works best for you and your group.
Setting Up Your Battlefield: From Casual Play to Tournament Standards
The optimal setup for your Conquest battlefield varies significantly depending on the context of your game.
In a tournament setting, the layout of objective zones and terrain pieces will almost certainly be pre-determined by the tournament organizer (TO). This ensures fairness, balance, and consistency across all tables, allowing players to focus solely on their tactical decisions without the added variable of terrain placement. Competitive players often study these pre-defined layouts to develop specific strategies.
For casual games, a more flexible approach is common. A popular and efficient method involves selecting a diverse array of terrain pieces – perhaps two Hindering, two Obscuring, a Hill, a large Impassable feature, and a wildcard like Water or Dangerous terrain. Players then roll off to determine who places the first piece, alternating until all terrain is on the board. Crucial placement rules must be observed, such as avoiding placing terrain on objective zones and maintaining a minimum distance (e.g., 9 inches) between pieces to prevent overly congested battlefields.
A common tendency in casual setup is to aim for symmetrical placement. If one player places an Obscuring piece near their deployment zone, the other player often reciprocates, creating a visually balanced and perceived fair playing field. This "vanilla baseline" is excellent for quick, enjoyable games. For more specialized or narrative scenarios, coordinating with your opponent beforehand ensures both players are on board with any unique terrain requirements.
Competitive Insights: Sample Terrain Layouts
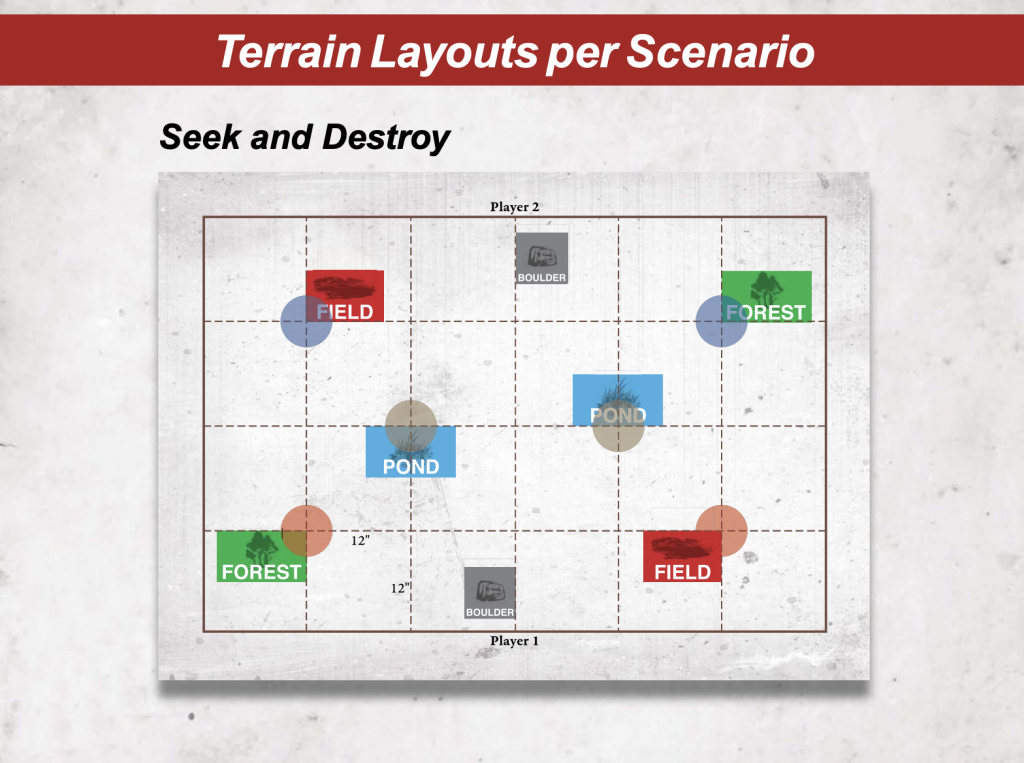
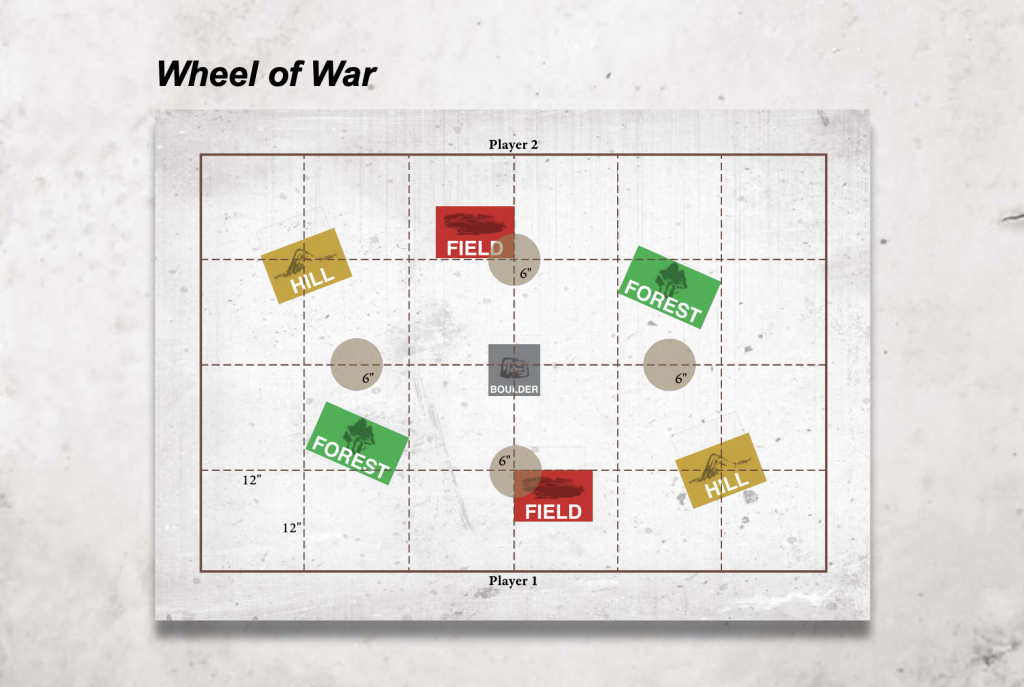
For players looking to delve deeper into competitive terrain layouts, Para Bellum has released a comprehensive Scenario Pack that includes detailed terrain diagrams. These layouts offer valuable insights into how balanced and challenging battlefields are constructed. Studying these examples (available on Para Bellum’s homepage) can significantly enhance your understanding of optimal terrain distribution and its strategic implications. They often feature a mix of open areas for flanking maneuvers, dense cover for infantry pushes, and chokepoints that reward clever positioning and force commitment.
[Image of Sample Terrain Layout 1]
[Image of Sample Terrain Layout 2]
[Image of Sample Terrain Layout 3]
[Image of Sample Terrain Layout 4]
[Image of Sample Terrain Layout 5]
These examples serve as excellent blueprints, demonstrating how different terrain types can be combined to create engaging and strategically deep scenarios, moving beyond simple symmetrical setups to more dynamic and challenging environments.
Final Thoughts: Embracing the Battlefield Architect
Terrain can indeed feel intimidating, akin to asking a first-person shooter player to design a level before they even get to play. For those aspiring to craft a visually stunning table, the hobby time and artistic skill required can feel like an additional commission as a 3D artist.
However, it’s vital to anchor your approach in the core principle of wargaming: fun first and foremost. To maximize enjoyment and strategic depth, terrain is indispensable; without it, games devolve into simple army-mashing. Yet, beyond the explicit game rules, there are no rigid dictates on how your terrain must look or be acquired.
If your passion lies in the crunchy tactical aspects of Conquest, a collection of books, cups, or simple 2D templates will serve your needs perfectly. If, however, you dream of immersive, visually rich battlefields, the market offers a plethora of options, from DIY 3D printing to convenient pre-painted solutions. The journey into Conquest, much like its battlefields, is yours to shape. So gather your forces, sculpt your world, and get gaming!
As always if you want to get 10% off and support Tabletop Battles you can make your Conquest purchase by clicking here. You’ll also need to enter code ‘goonhammer’ at checkout. Have any questions or feedback? Drop us a note in the comments below or email us at [email protected]. Want articles like this linked in your inbox every Monday morning? Sign up for our newsletter. And don’t forget that you can support us on Patreon for backer rewards like early video content, Administratum access, an ad-free experience on our website and more.