Mastering the Art of Dynamic 3D Animation: A Deep Dive into Blend Shapes
Introduction: Elevating 3D Artistry with Advanced Techniques
In the ever-evolving landscape of 3D art and animation, the pursuit of realism and expressiveness is paramount. While foundational skills in 3D modeling and texturing are crucial, truly bringing digital characters and objects to life often hinges on mastering more advanced techniques. Building upon previous tutorials that explored smart 3D art workflows, the nuances of smoothing and hardening 3D models, and the intricacies of preparing models for animation, this comprehensive guide delves into a fundamental yet powerful tool: blend shapes. This technique, known by various names across different software packages, is instrumental in creating fluid, organic, and believable character performances, transforming static models into dynamic, emotive entities.
Understanding Blend Shapes: The Foundation of Expressive Animation
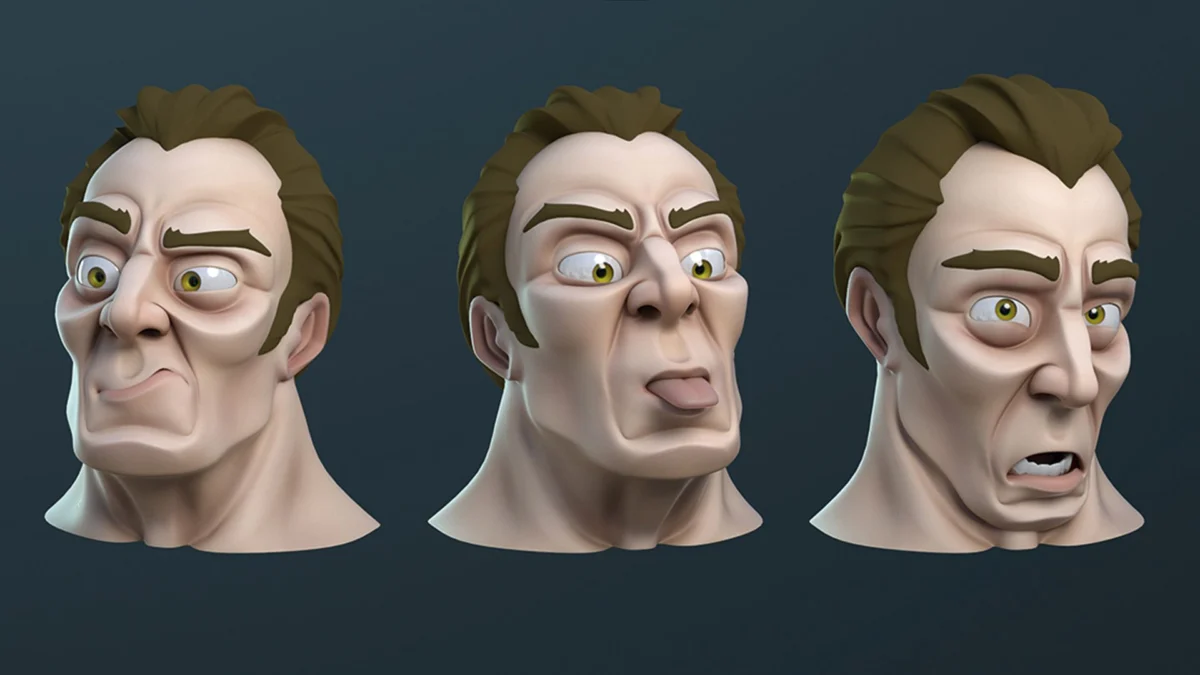
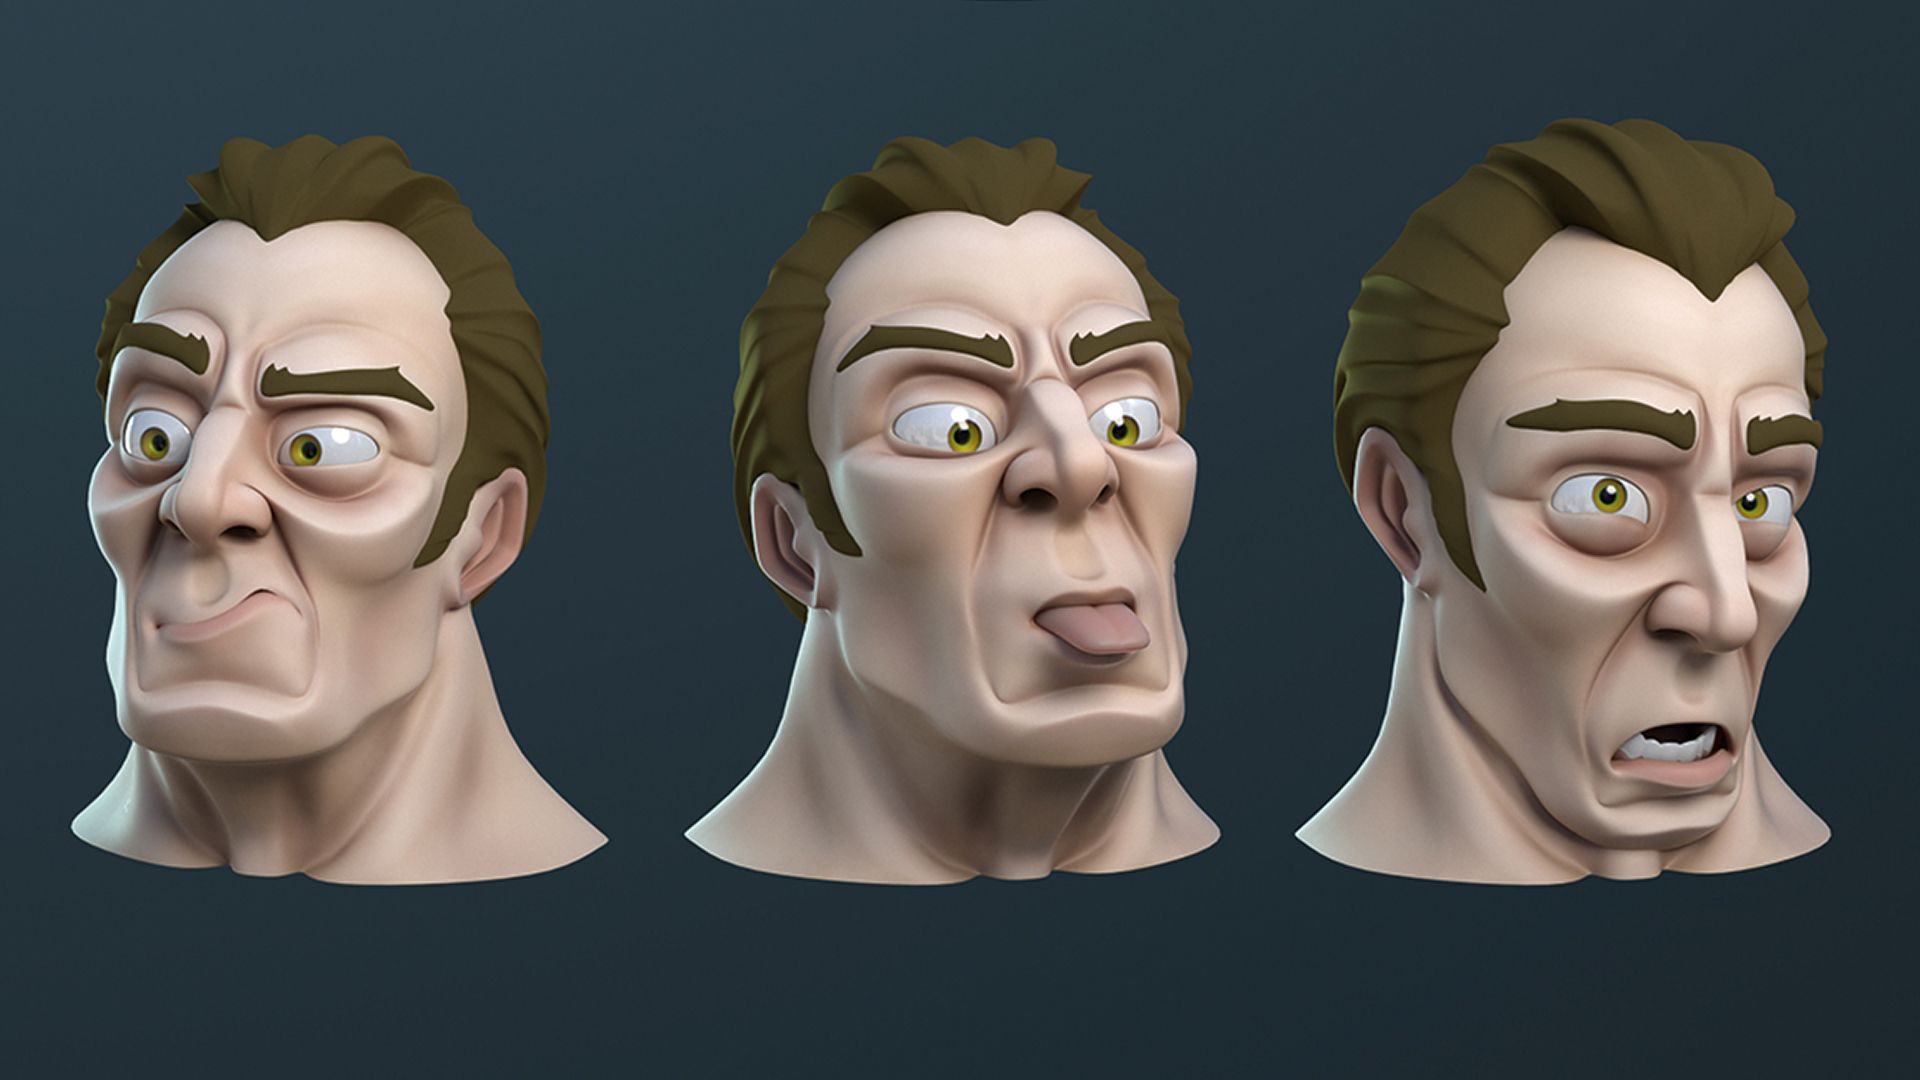
Blend shapes, also commonly referred to as shape keys (in Blender) or morph targets (in Unreal Engine 5 and other contexts), are a cornerstone of character animation. At their core, they represent a method of altering the geometry of a 3D model over time, allowing for subtle or dramatic transformations. Imagine a character’s face: a neutral expression needs to transition into a smile, a frown, or a gasp. Instead of re-modeling the entire face for each expression, blend shapes provide an efficient and elegant solution.
The fundamental principle behind blend shapes is vertex manipulation. For each desired expression or pose, a separate "target" shape is created. This target shape dictates the final position of each vertex from the original, neutral model. When a blend shape is activated, the software interpolates the vertex positions from the base model to the target model. This interpolation can be controlled by a slider, allowing for a gradual transition between the two states. For instance, a smile blend shape would define how each vertex of the mouth area moves from its neutral position to the upturned corners of a smile.
However, it’s important to note a key characteristic and limitation of blend shapes: their linear interpolation. Vertices move in a direct line from their starting point on the base model to their endpoint on the target shape. This makes them exceptionally well-suited for deformations like facial expressions, muscle bulges, or object morphing. Conversely, blend shapes are less effective for animations that require an arc or curved path, such as the complex movement of an eyelid closing over an eyeball. For such nuanced movements, other animation techniques like joint-based rigging or corrective blend shapes might be necessary.
Despite this limitation, the ease of setup and the capacity for highly organic and convincing movements make blend shapes an indispensable tool for animators. They are particularly effective for achieving subtle emotional cues that can profoundly impact a character’s believability and audience connection.
The Evolution of 3D Animation and the Need for Dynamic Deformation
The journey of 3D animation has been a continuous quest for greater realism and emotional depth. Early 3D animations, while groundbreaking for their time, often suffered from stiff and robotic movements. This was largely due to the limitations of the available animation tools. As technology advanced, so did the sophistication of animation techniques.
The advent of skeletal animation, where a digital "skeleton" is rigged to a 3D model, allowed for more complex limb and body movements. However, facial animation remained a significant challenge. Creating nuanced facial expressions with skeletal rigging alone could be incredibly complex and time-consuming, often resulting in uncanny or unnatural expressions.
This is where blend shapes emerged as a revolutionary solution. They provided a direct way to control the subtle deformations of a mesh, particularly crucial for the intricate movements of the face. By defining key expressions as blend shapes, animators could seamlessly transition between them, creating a wide range of emotions with relative ease. This dramatically improved the expressiveness of 3D characters, paving the way for more compelling storytelling and immersive experiences in film, gaming, and virtual reality.
Three Essential Steps to Creating Animation Blend Shapes
Mastering blend shapes involves a systematic approach. While the specific implementation may vary slightly between different 3D software packages, the core principles remain consistent. Here’s a breakdown of the essential steps:
Step 1: Creating Your Morph Targets
The foundation of any blend shape setup lies in the creation of "morph targets," also known as "target shapes" or "shape keys."
- Duplication is Key: Begin with your base 3D model in its neutral, default pose. For every distinct expression or pose you wish to animate, you will need to create a duplicate of this base model. For example, if you want to animate a character smiling, frowning, and looking surprised, you will create three duplicate models.
- Isolate and Organize: It is highly recommended to move these duplicate models apart from the original base model in your scene. This spatial separation allows for clear visibility and easier manipulation of each individual target shape without interference. This organizational approach is crucial, especially when dealing with complex models or numerous blend shapes.
Step 2: Generating the Target Shapes
Once your morph targets are duplicated and isolated, the next phase involves sculpting the desired expressions or poses into these copies.
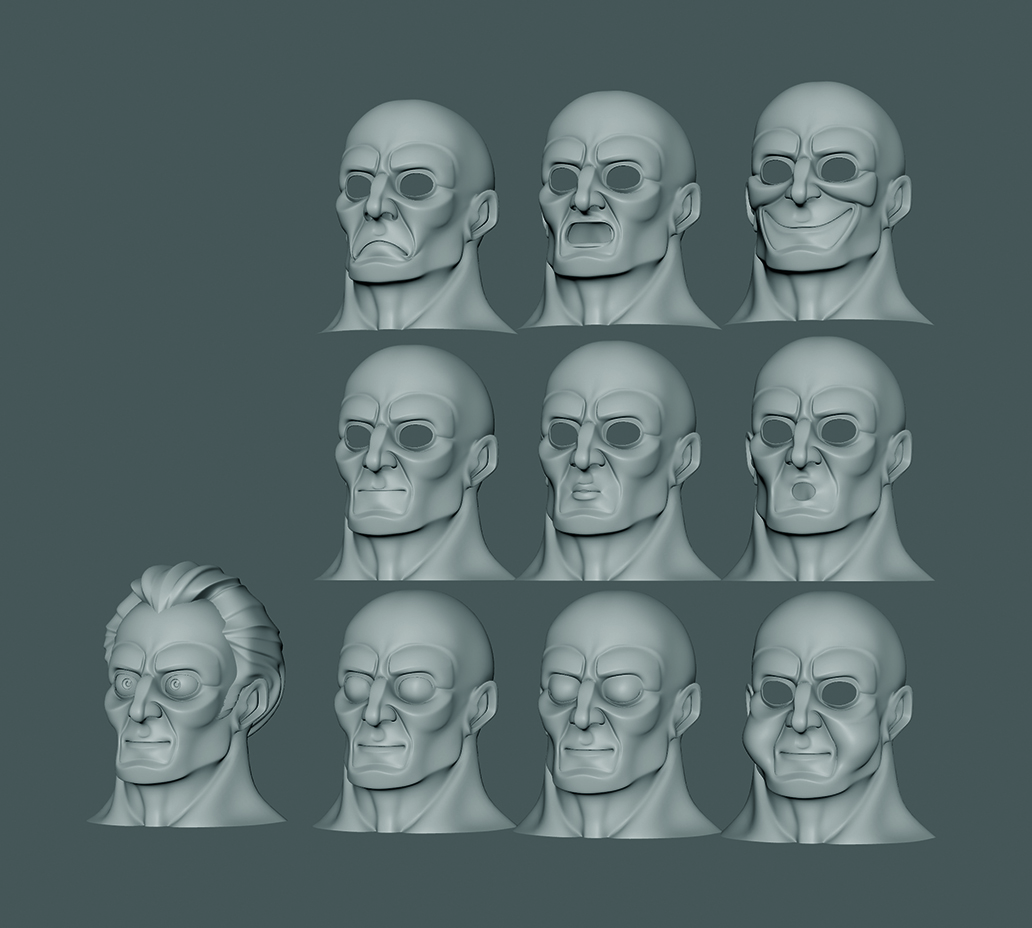
- Vertex-by-Vertex or Sculpting: You can manually adjust the position of each vertex on your duplicate models to achieve the target shape. This offers precise control but can be labor-intensive. Alternatively, and often more efficiently for organic deformations, you can utilize sculpting tools. Many 3D modeling packages offer powerful sculpting brushes that allow you to push, pull, and smooth the geometry, mimicking the natural flow of muscles and skin. This approach can lead to more natural and fluid results.
- Focus on Key Expressions: For character animation, concentrate on defining the primary emotional expressions. This might include a neutral expression, a smile, a frown, a look of surprise, anger, sadness, and perhaps more specific expressions like a wink or a raised eyebrow. The more expressive targets you create, the greater the potential for nuanced animation.
Step 3: Connecting Using a Blend Shape Node
The final and critical step is to link these sculpted morph targets to your original base model using the blend shape functionality of your chosen software.
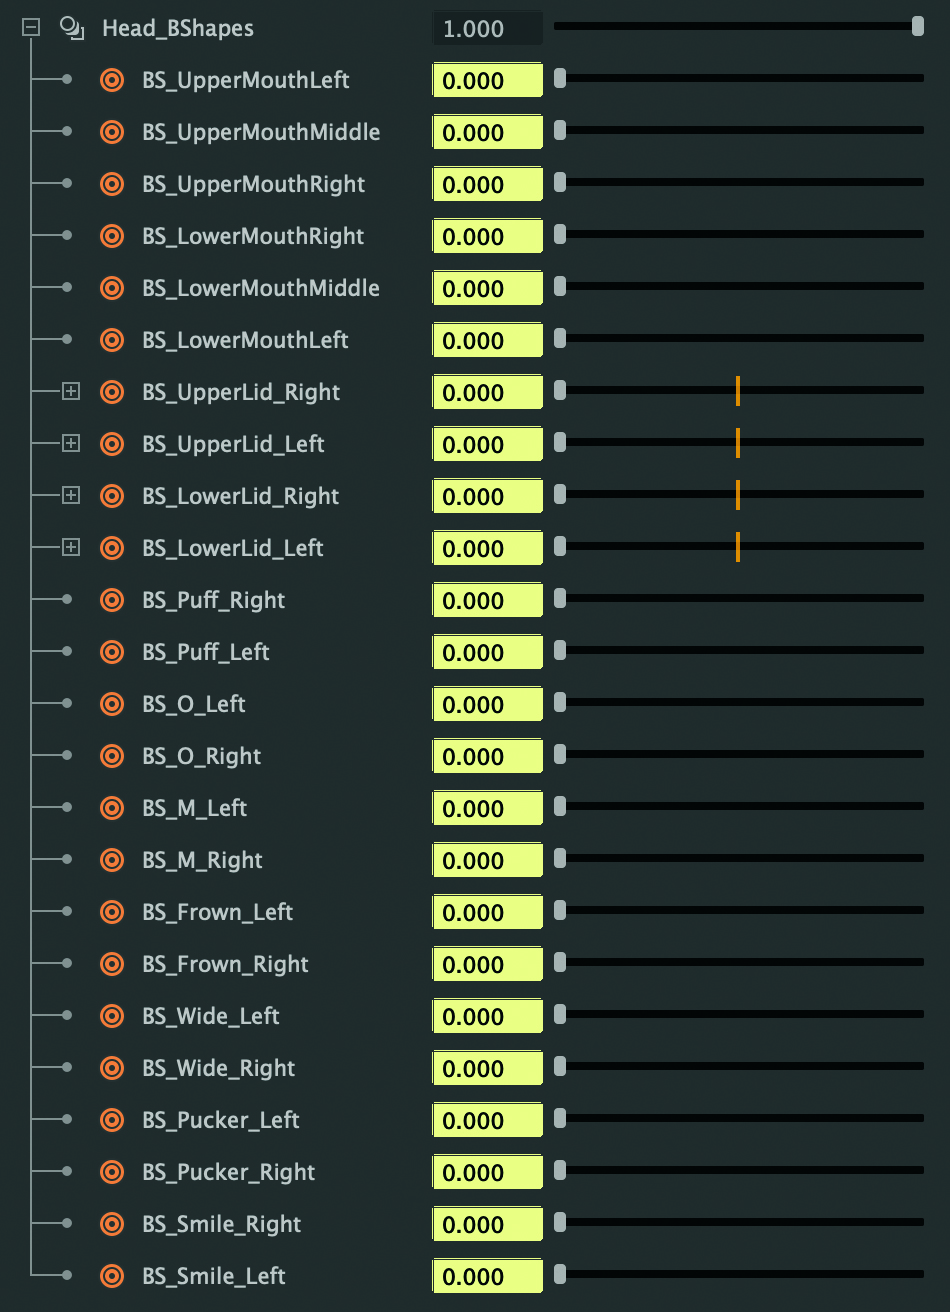
- The Blend Shape Node: Most 3D applications provide a dedicated "Blend Shape" or "Shape Key" editor. Within this editor, you will select your base model and then add each of your created morph targets to it. This action typically generates a "blend shape node" or a similar construct that manages all the associated target shapes.
- Animation Controls: The blend shape node will then present you with a series of sliders or numerical controls, one for each of your morph targets. These sliders typically range from 0 (representing the base model’s state) to 1 (representing the full effect of the target shape). By manipulating these sliders, you can blend between the neutral pose and any of your defined expressions. Crucially, these slider values can be keyframed over time, allowing for dynamic animation. For instance, to animate a smile, you would keyframe the smile blend shape’s slider from 0 to 1 over a few frames, creating a smooth, gradual smile.
Illustrative Example: Animating a Character’s Smile
To further solidify the concept, let’s walk through a simplified example of animating a character’s smile using blend shapes:
- Base Model: You have a 3D model of a character’s face in a neutral, relaxed expression.
- Duplicate for Smile: You duplicate the face model and name this duplicate "Smile_Target."
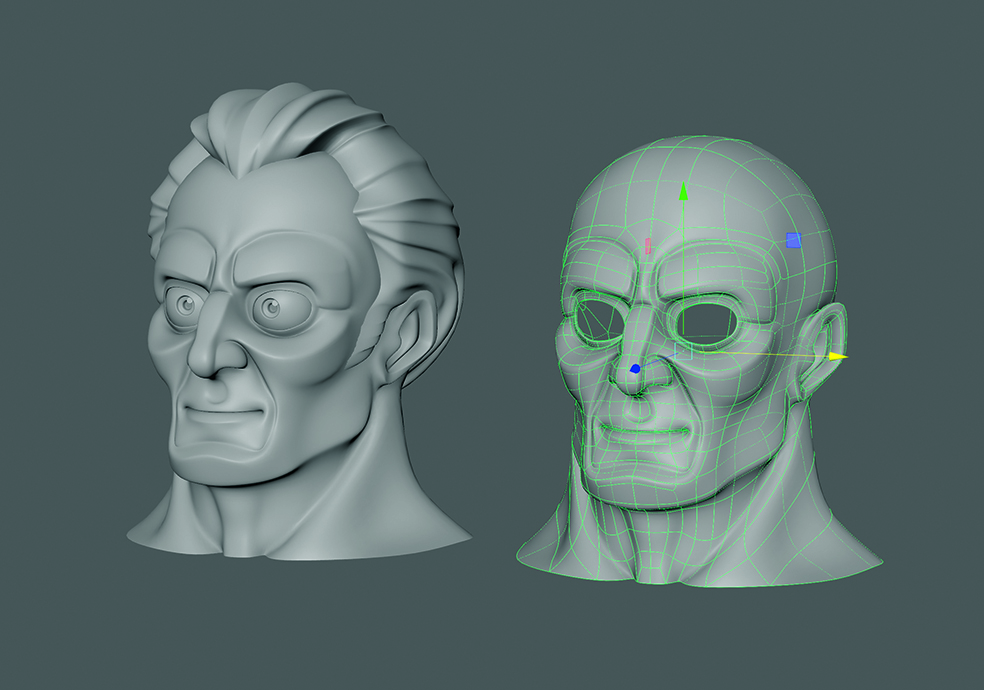
- Sculpt the Smile: You then open "Smile_Target" and, using sculpting tools or vertex manipulation, sculpt the face into a wide, genuine smile. Ensure that the underlying topology (the arrangement of vertices and edges) remains identical to the base model. Only the vertex positions should change.
- Create Blend Shape: In your 3D software’s animation tools, you select the neutral face model and apply the "Blend Shape" or "Shape Key" functionality. You then add "Smile_Target" to this blend shape setup.
- Animate the Transition: A slider for "Smile_Target" will appear. To animate the smile, you would go to frame 1 of your timeline and set the "Smile_Target" slider to 0. Then, you would advance to frame 30, set the "Smile_Target" slider to 1, and keyframe this change. This will create a smooth, linear transition from the neutral expression to the full smile over 30 frames. You can then adjust the timing and add other blend shapes (like raising the cheeks) to refine the expression.
Beyond Facial Animation: Applications of Blend Shapes
While facial animation is a primary and highly effective application of blend shapes, their utility extends to numerous other areas in 3D production:
- Body Deformations: Blend shapes can be used to create subtle muscle bulges, body part expansions (like inflating a character’s stomach), or to simulate the effects of impacts and stresses on a model.
- Object Morphing: In conceptual animation or motion graphics, blend shapes are ideal for transforming one object into another, creating seamless transitions and visually engaging effects. Imagine a cube smoothly morphing into a sphere.
- Character Proportions and Variations: For games or projects requiring character customization, blend shapes can be used to alter body proportions, creating variations in character builds without the need for entirely new models.
- Simulating Physics and Material Properties: While not a direct physics simulation, blend shapes can be employed to mimic the visual effects of certain physical phenomena, such as soft bodies deforming under pressure or elastic materials stretching.
Considerations for Optimal Blend Shape Implementation
To ensure your blend shape animations are as effective and efficient as possible, consider these best practices:
- Topology Consistency: The most crucial aspect of blend shapes is maintaining identical topology between your base model and all your morph targets. This means the number of vertices, their order, and how they are connected must be exactly the same. Any deviation will result in unpredictable deformations or errors.
- Clean Geometry: Ensure your base model has clean, well-organized geometry. Avoid unnecessary edge loops or complex n-gons, as these can complicate vertex manipulation and lead to undesirable artifacts when blending.
- Naming Conventions: Adopt clear and consistent naming conventions for your morph targets. This will be invaluable when managing a large number of blend shapes, especially in complex character rigs. For example, "Mouth_Smile_L," "Mouth_Smile_R," "Brow_Up," etc.
- Targeted Adjustments: While blend shapes work by moving vertices, focus your sculpting efforts on the areas that need to change for a specific expression. Avoid making unnecessary edits to areas that should remain static, as this can sometimes introduce unwanted deformations elsewhere.
- Software-Specific Tools: Familiarize yourself with the specific blend shape tools and workflows within your chosen 3D software (Maya, Blender, 3ds Max, etc.). Each package may offer unique features and optimizations.
- Performance Optimization: In real-time applications like video games, a large number of complex blend shapes can impact performance. Consider optimizing your blend shapes by reducing vertex counts where possible or using techniques like baked normal maps to simulate subtle deformations.
Conclusion: Unlocking Expressive Potential in 3D Animation
Blend shapes are a powerful and versatile tool that empowers 3D artists to imbue their creations with life and emotion. By understanding the fundamental principles of vertex interpolation and following a structured approach to creating and implementing morph targets, animators can achieve incredibly organic and believable movements, particularly in character animation. From subtle facial expressions that convey deep emotion to dramatic transformations of objects, blend shapes unlock a new level of dynamism and storytelling potential in the 3D realm. As you continue your journey in 3D artistry, mastering blend shapes will undoubtedly be a significant step towards creating truly captivating and memorable animated experiences.